
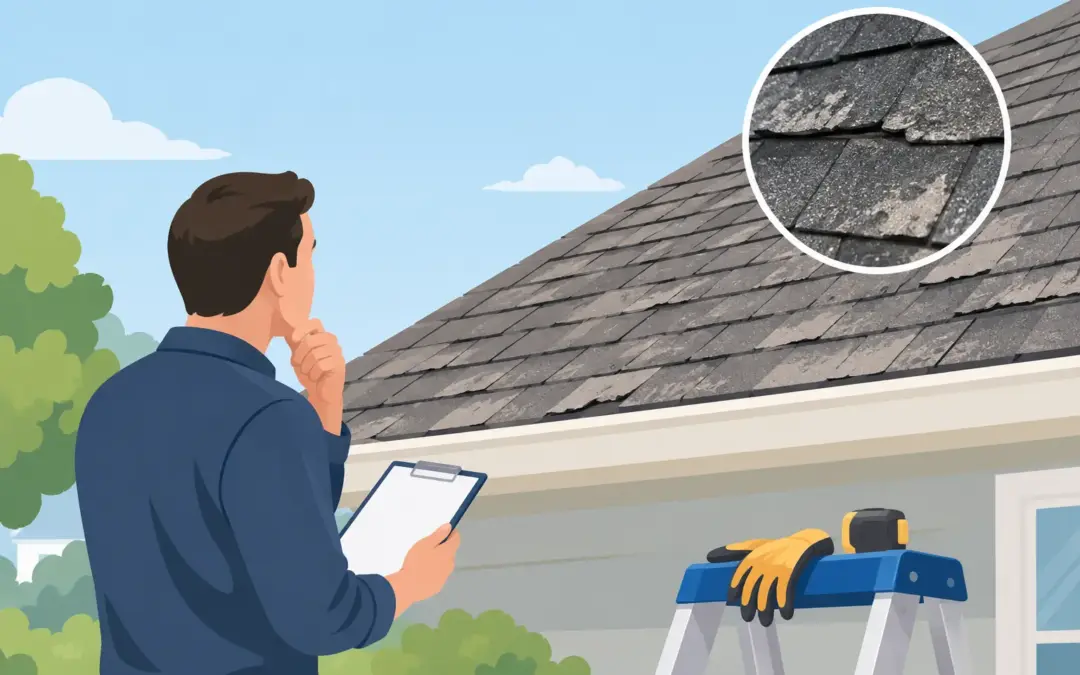
An aging asphalt shingle roof does not always need to be replaced the moment it loses some color or begins shedding a few granules. In many cases, the smarter next step is to prepare shingles for treatment by confirming the roof is structurally sound, clean, dry, and a good candidate for restoration. The preparation phase protects the value of the treatment and helps homeowners avoid putting money toward a roof that first needs repair.
Roof restoration is not a cover-up for active leaks, storm damage, or failing roof components. It is a practical way to help eligible shingles regain flexibility, improve their appearance, and extend their functional life. A careful assessment before application makes that difference clear.
Why Preparation Matters Before Shingle Treatment
Asphalt shingles age under constant exposure to sun, heat, rain, wind, and seasonal temperature swings. Over time, the oils that help shingles remain flexible can diminish. The roof may look faded, dry, or weathered, and granule loss may become more noticeable.
A professional treatment is designed to restore aging shingles, not to replace missing shingles or correct installation defects. Preparing the roof allows a certified applicator to identify what can be restored and what must be repaired first. It also creates the clean, stable surface needed for consistent application and measurable results.
For homeowners, this process helps prevent premature replacement decisions. For roofing and exterior-service professionals, it creates a disciplined service standard that builds customer confidence and supports warranty-backed work.
Step 1: Start With a Full Roof Condition Assessment
Before any cleaning or treatment begins, the roof should be evaluated from the ground and, when safe and appropriate, at roof level. The goal is not simply to find cosmetic aging. It is to verify that the roof system is fundamentally serviceable.
A qualified inspection should look for missing, cracked, curled, torn, or severely deteriorated shingles. It should also identify exposed fasteners, lifted flashing, damaged pipe boots, open valleys, loose ridge caps, and signs of water intrusion around penetrations. Interior ceiling stains, attic moisture, and active leaks deserve attention as well.
Some wear is expected on an older roof. Minor granule loss, fading, and surface dryness can be signs that a shingle restoration treatment may be appropriate. However, widespread shingle failure, extensive storm damage, rotted decking, or major leak conditions usually require repairs or replacement before restoration can be considered.
This is where honest guidance matters. Treatment should never be positioned as a substitute for necessary roofing work. The best result comes from restoring a roof that still has a viable structure and remaining service life.
Check the Roof’s Age and History
Roof age is useful context, but it is not the only deciding factor. Two roofs installed in the same year can age very differently based on climate, ventilation, shade, tree coverage, installation quality, and past maintenance.
Ask when the roof was installed, whether it has experienced hail or wind events, and whether repairs have been completed in the past. A roof with a clean repair history and mostly intact shingles may be a strong restoration candidate. A roof with recurring leaks or multiple layers of old shingles may need a closer evaluation.
Step 2: Complete Repairs Before Treatment
Any necessary repairs should be completed before treatment is applied. This may include replacing isolated damaged shingles, securing loose flashing, repairing boots around vents, addressing nail pops, or correcting small areas where water can enter.
Repairing first protects both the homeowner and the applicator. It keeps restoration work focused on its intended purpose: helping sound, aging shingles perform better for longer. It also avoids treating a roof that has unresolved conditions likely to create problems later.
Repairs should match the roof as closely as practical in shingle type, profile, and color. On an older roof, an exact visual match may not always be available. That is a normal trade-off, and treatment can help improve the overall appearance of the existing roof surface once the repair work is complete.
Do not overlook gutters, downspouts, and roof drainage. Water that consistently backs up near eaves or valleys can shorten roof life regardless of shingle condition. Clear drainage paths are part of protecting the investment.
Step 3: Clean the Roof Surface Carefully
A roof must be free of loose debris before treatment. Leaves, branches, heavy pollen, dirt accumulation, and organic growth can prevent an even application and hide areas that need attention.
Cleaning should be controlled and appropriate for asphalt shingles. Aggressive pressure washing can dislodge granules and cause unnecessary damage, especially on a roof that is already weathered. The purpose is to remove surface debris and prepare the roof for restoration, not to blast the shingles until they look new.
A professional may remove loose debris by hand or with low-impact methods, clear valleys and drainage points, and address surface conditions that interfere with treatment. If moss, algae, or lichen is present, the right approach depends on its severity and the condition of the shingles beneath it. Heavy growth can indicate persistent moisture or shade issues that should be addressed as part of the overall roof-care plan.
Homeowners should avoid walking on a dry, brittle roof to handle this work themselves. Beyond the safety risk, foot traffic can crack vulnerable shingles or disturb granules. A certified professional has the equipment, process, and judgment to prepare the surface without creating avoidable damage.
Step 4: Choose the Right Weather Window
Treatment performance depends on proper application conditions. The roof needs to be dry, and the forecast should support the product’s required curing period. Rain, heavy dew, extreme heat, high winds, or freezing conditions can affect scheduling.
This is not an inconvenience. It is quality control. A professional applicator should monitor weather conditions, confirm the roof is dry, and schedule work when the treatment can be applied evenly and allowed to perform as intended.
Tree coverage can affect this step. Roof sections under dense shade often hold moisture longer than open sections, especially after rain or early-morning dew. Those areas may need more drying time even when the rest of the roof appears ready.
How to Prepare Shingles for Treatment Without Creating Damage
Homeowners can make the process easier without taking on risky roof work. Move vehicles, outdoor furniture, grills, potted plants, and other items away from the work area. Keep gates accessible, secure pets, and let the applicator know about irrigation schedules, delicate landscaping, or exterior areas that need special care.
If you can safely see debris in gutters from the ground, mention it during the assessment. If you have noticed a leak, ceiling stain, or loose shingle after a storm, share that information before the appointment. Small details help the inspection focus on the areas that matter most.
Avoid applying sealants, coatings, or store-bought roof products before an evaluation. These products may complicate the condition assessment or interfere with a professional restoration system. It is better to let the roof be evaluated in its current state and receive recommendations based on what it actually needs.
What a Certified Applicator Brings to the Process
A certified applicator does more than spray a product. They evaluate eligibility, identify repair needs, prepare the roof surface, follow application standards, and document the work. That process is what turns a treatment from a simple service into a reliable restoration solution.
Roof Shield supports certified applicators with proprietary biodegradable technology, operating guidance, and a process built around consistent results. For homeowners, working with a trained provider means a clearer understanding of what treatment can accomplish, what repairs should come first, and how warranty coverage applies to an eligible roof.
For contractors, this preparation standard creates a valuable conversation beyond replacement. Instead of presenting only a high-cost tear-off, they can offer a responsible option for homeowners whose roofs still deserve protection.
A Better Next Step for an Aging Roof
Preparing a roof for treatment begins with an honest question: is this roof aging, or is it failing? If the shingles are weathered but the roof system remains sound, restoration may offer a more affordable, lower-waste path forward than immediate replacement.
A professional evaluation gives you the facts needed to make that decision with confidence. Clean. Restore. Protect. When the roof is prepared correctly, treatment can become a practical way to preserve the asset already over your head.